Are you tired of manually configuring your Ubuntu virtual machines every time you deploy them? Creating a Cloud-Init ready Ubuntu VM template can save you a significant amount of time and effort. With a Cloud-Init ready template, you can automate the process of installing packages, updating configurations, and much more. In this blog post, we will guide you through the process of creating such a template that you can use with VMware Aria Automation. In this guide we will help you create a VM template that will streamline your deployments and save you time in the long run.
Preparing a Cloud-Init ready cloneable Ubuntu template
To get started with cloud-init on your virtual machine (VM), you’ll need to first ensure that your installation is up-to-date and any additional software like git and ssh have been installed. Once that’s taken care of, it’s time to install cloud-init.
The first thing you need to do is to install cloud-init. This package should already be installed, but you can confirm it by running the following command:
sudo apt-get install cloud-init -yAfter installing cloud-init, it’s essential to remove any existing configurations. This is because newer Ubuntu installers already use cloud-init by default. Use the following command to remove any existing configurations:
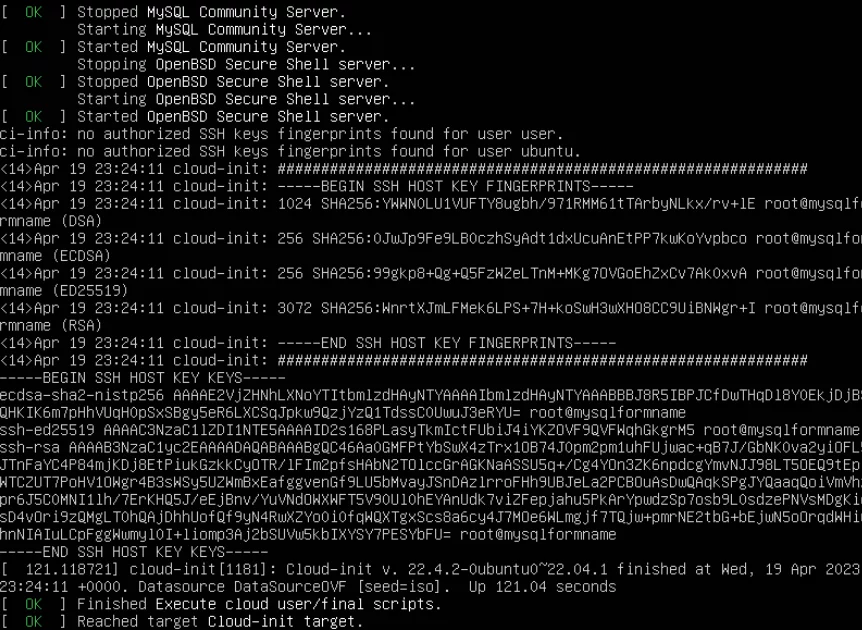
sudo cloud-init cleanNext, shut down your virtual machine (VM) with this command:
sudo shutdown -h nowAfter the VM has shut down, go to its hardware settings and ensure that the CD-ROM drive device mode is set to Passthrough CD-ROM.
Finally, shut down your VM and convert it to a template. Your VM is now ready to be used with VMware Aria Automation cloud templates.
And that’s it! With these simple steps, you’ll be ready to take advantage of cloud-init on your virtual machine.
Note that in cases you used the live-installer iso you’ll also need to delete two files containing existing cloud-init configurations as mentioned by Paul Davey on automationpro.co.uk
sudo rm -rf /etc/cloud/cloud.cfg.d/subiquity-disable-cloudinit-networking.cfg
sudo rm -rf /etc/cloud/cloud.cfg.d/99-installer.cfg
Cloud-Init blueprint code examples
Adding a cloudConfig section to your Cloud Assembly template code allows you to include machine initialization commands that run during deployment. The syntax for these commands differs depending on the operating system you’re using.
For Linux, initialization commands follow the open cloud-init standard.
For Windows, Cloudbase-init is used instead.
It’s important to note that Linux cloud-init and Windows Cloudbase-init don’t have the same syntax. Therefore, a cloudConfig section for one operating system won’t work in a machine image of the other operating system.
To ensure the proper interpretation of commands, always use the pipe character cloudConfig: | when adding your initialization commands. Take a look at the example below and the cloud-init documentation:
cloudConfig: |
        #cloud-config
        repo_update: true
        repo_upgrade: all
        packages:
         - apache2
         - php
         - php-mysql
         - libapache2-mod-php
         - php-mcrypt
         - mysql-client
        runcmd:
         - mkdir -p /var/www/html/mywordpresssite && cd /var/www/html && wget https://wordpress.org/latest.tar.gz && tar -xzf /var/www/html/latest.tar.gz -C /var/www/html/mywordpresssite --strip-components 1
         - i=0; while [ $i -le 5 ]; do mysql --connect-timeout=3 -h ${DBTier.networks[0].address} -u root -pmysqlpassword -e "SHOW STATUS;" && break || sleep 15; i=$((i+1)); done
         - mysql -u root -pmysqlpassword -h ${DBTier.networks[0].address} -e "create database wordpress_blog;"
         - mv /var/www/html/mywordpresssite/wp-config-sample.php /var/www/html/mywordpresssite/wp-config.php
         - sed -i -e s/"define( 'DB_NAME', 'database_name_here' );"/"define( 'DB_NAME', 'wordpress_blog' );"/ /var/www/html/mywordpresssite/wp-config.php && sed -i -e s/"define( 'DB_USER', 'username_here' );"/"define( 'DB_USER', 'root' );"/ /var/www/html/mywordpresssite/wp-config.php && sed -i -e s/"define( 'DB_PASSWORD', 'password_here' );"/"define( 'DB_PASSWORD', 'mysqlpassword' );"/ /var/www/html/mywordpresssite/wp-config.php && sed -i -e s/"define( 'DB_HOST', 'localhost' );"/"define( 'DB_HOST', '${DBTier.networks[0].address}' );"/ /var/www/html/mywordpresssite/wp-config.php
         - service apache2 reload
When troubleshooting a cloud-init script that’s not behaving as expected, it’s important to check the captured console output in the file located at /var/log/cloud-init-output.log.
Encrypt access credentials
resources:
  apitier:
    type: Cloud.Machine
    properties:
      cloudConfig: |
        #cloud-config
        runcmd:
          - export apikey=${base64_encode(input.username:input.password)}
          - curl -i -H 'Accept:application/json' -H 'Authorization:Basic :$apikey' http://example.com
Sources:
https://cloudinit.readthedocs.io/en/20.4.1/topics/examples.html
https://automationpro.co.uk/preparing-an-ubuntu-22-x-vm-for-cloud-init-vmware-aria-automation
https://cloudblogger.co.in/2022/08/04/an-introduction-to-cloud-config-scripting-for-linux-based-vms-in-vra-cloud-templates/