Before we start deploying the new vRSLCM, vIDM and vRA Appliances below are some of the considerations which need to make sure that are in place:
- Review System Requirements for vRealize Automation 8
- Download vRealize Suite Lifecycle Manager 8 Easy Installer
- Complete Load Balancer Configuration
- Ensure that all DNS Records and IP Reservations are in place
- Keep DNS server and NTP server details handy
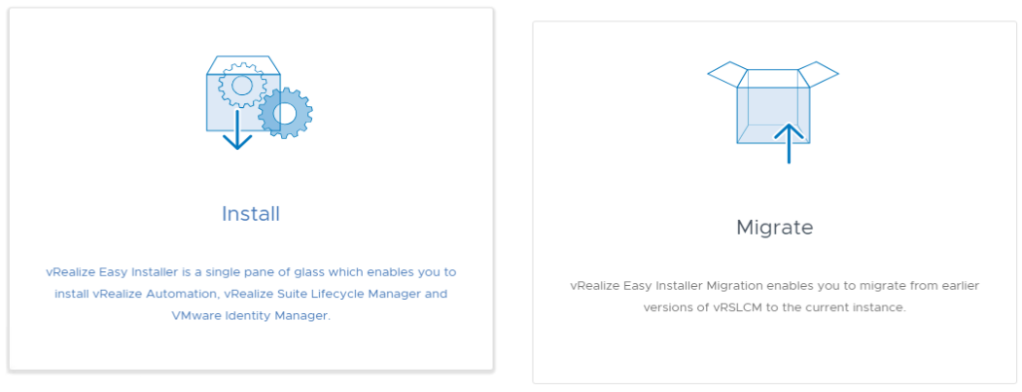
Now we re ready to deploy to deploy our new appliances, the steps to deploy vRSLCM, vRA and vIDM appliances are as follows:
1. Mount the Easy Installer ISO and Launch installer.exe located under F:\vrlcm-ui-installer\win32\installer.exe
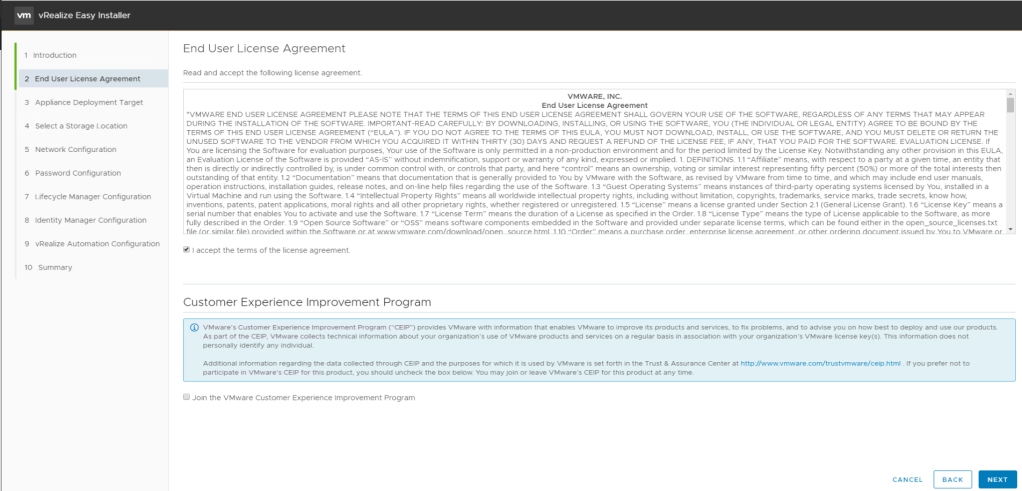
2. Please go through the Introduction and Accept the End User License Agreement. Click Next
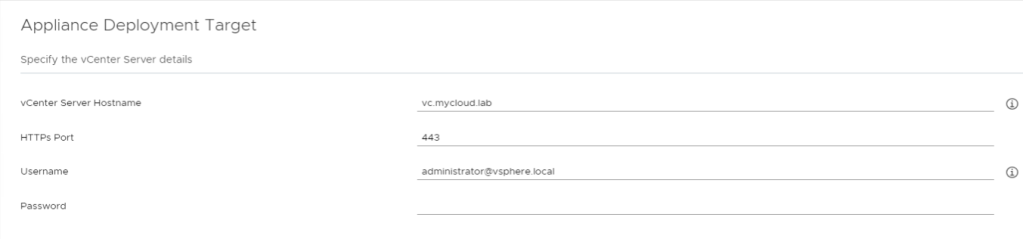
3. Enter the Appliance Deployment Target details like vCenter Server Hostname, Administrator Username and Password.
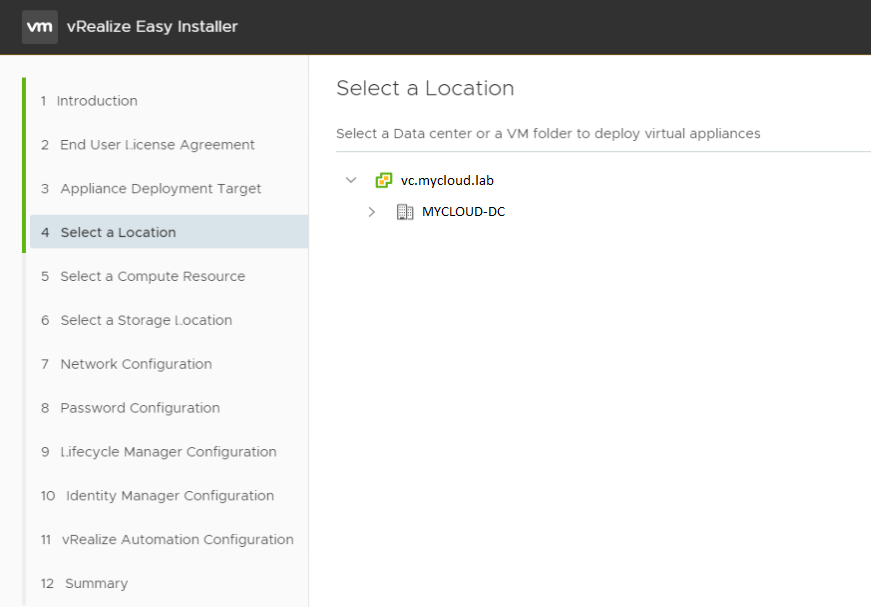
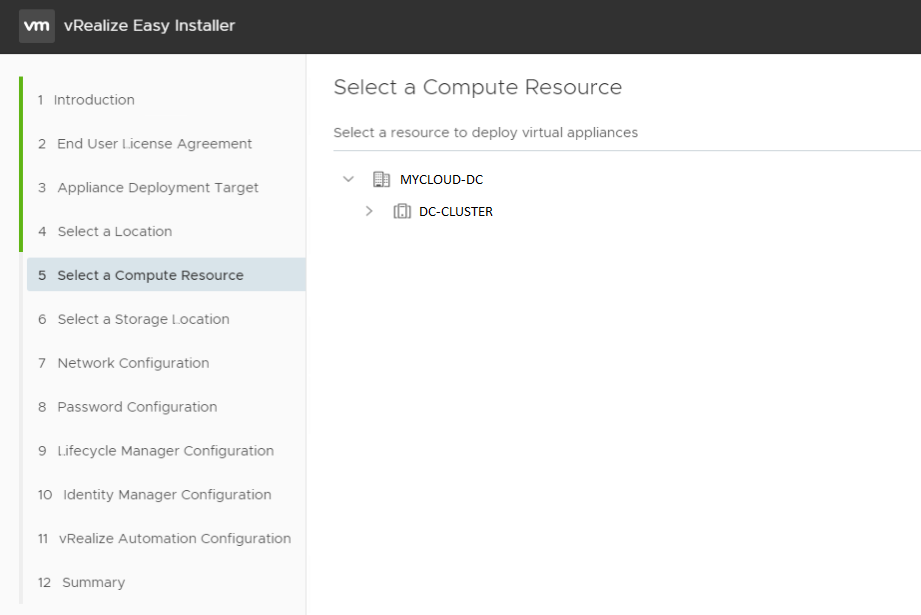
4. Select a Target Location, Target Cluster and Datastore.

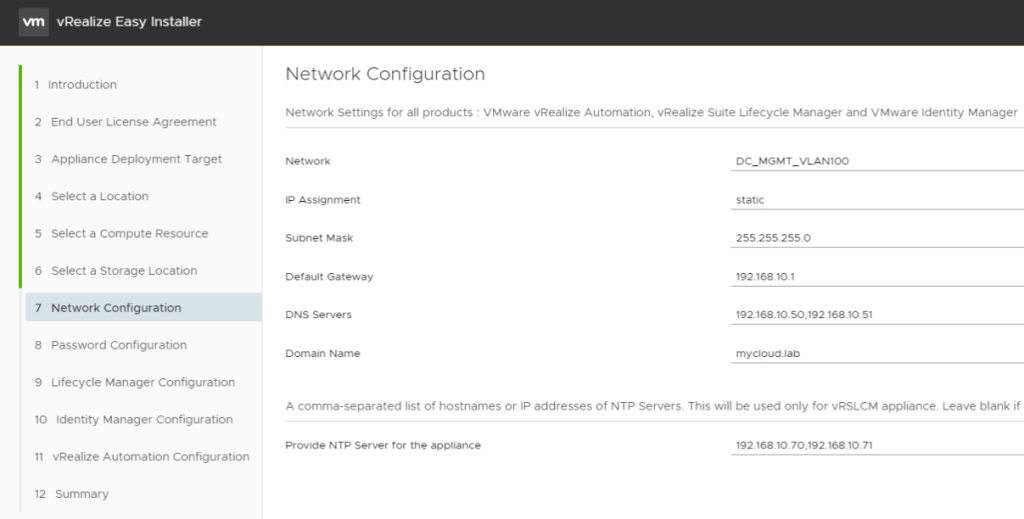
6. Enter the details of Network Configuration which includes Target Network, IP Assignment Type, Subnet Mask, Default Gateway, DNS Servers, Domain Name and NTP Servers.
Network: DC_MGMT_VLAN100
IP Assignment: static
Subnet Mask: 255.255.255.0
Default Gateway: 192.168.10.1
DNS Servers: 192.168.10.50, 192.168.10.51
Domain Name: mycloud.lab
Provide NTP Server for the appliance: 192.168.10.70,192.168.10.71
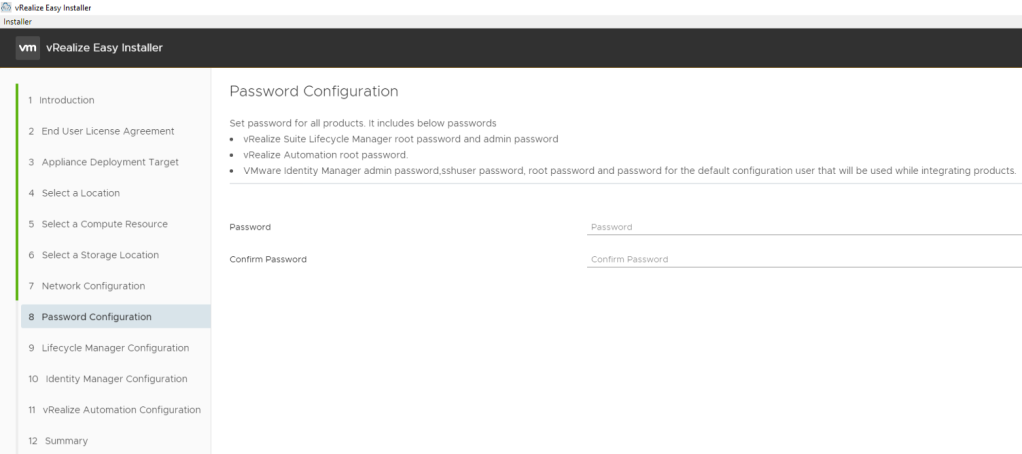
7. Enter your Password. This password will be used for vRSLCM admin & root account, vRA root account, vIDM admin, sshuser, root user and default configuration user.
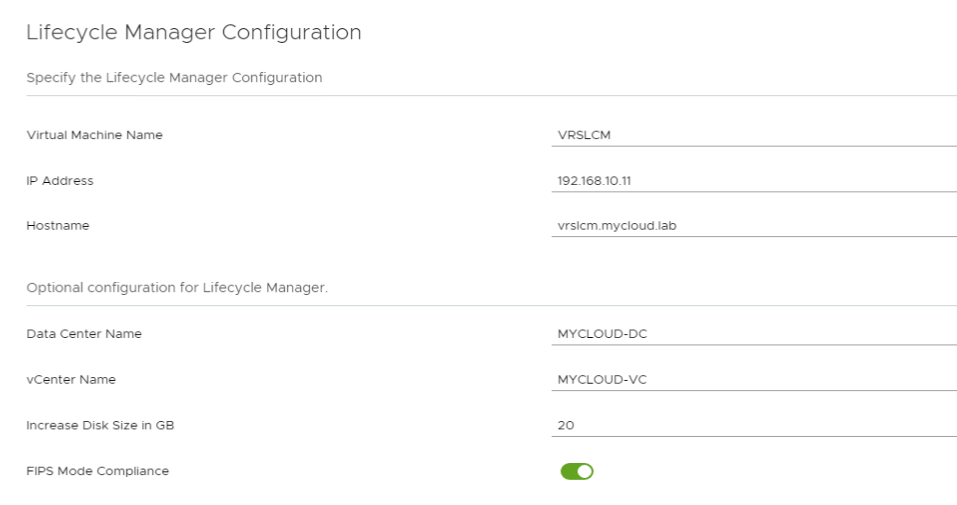
8. Enter Virtual Machine name, IP Address, FQDN, Datacenter Name and vCenter Name for vRealize Suite Lifecycle Manager. Set Increase Disk Size in GB to 20 and Leave FIPS Mode Compliance to deafult.
Virtual Machine Name: VRSLCM
IP Address: 192.168.10.11
Hostname: vrslcm.mycloud.lab
Data Center Name: MYCLOD-DC
vCenter Name: MYCLOUD-VC
Increase Disk Size in GB: 20
FIPS Mode Compliance: Enabled
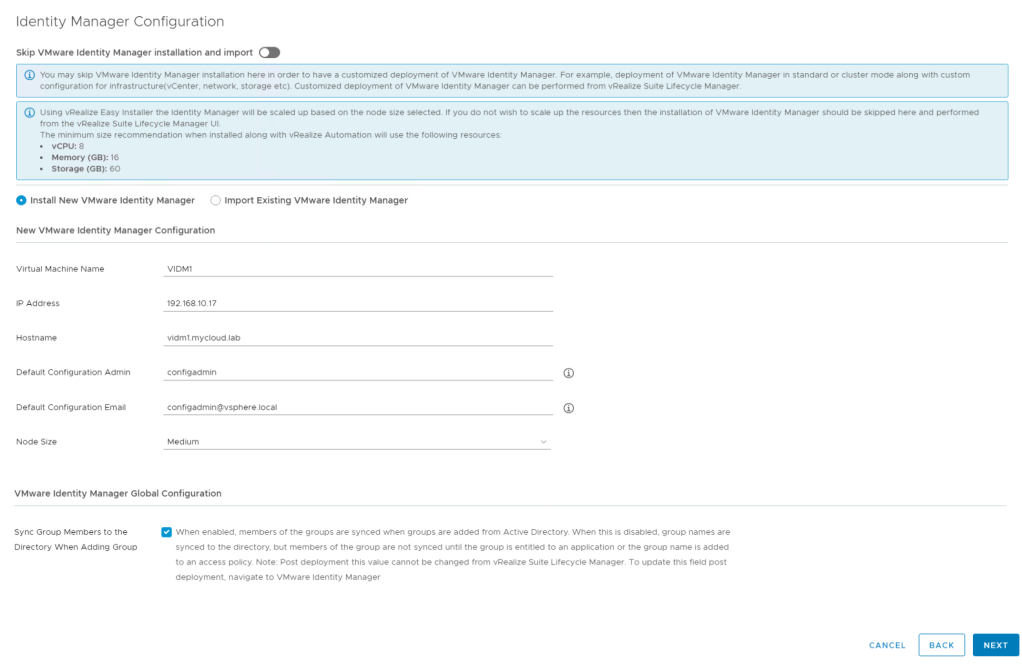
9. In Identity Manager Configuration, we will initially configure a Single Node VMware Identity Manager deployment which will be expanded to a clustered deployment in next blog in this series. Select Install New VMware Identity Manager and Enter the details of Virtual Machine Name, IP Address, FQDN, Default Configuration Admin, E-mail Address and Node size as per your environment’s requirement. Tick Sync Group Members to the Directory When Adding Group checkbox.
Virtual Machine Name: VIDM1
IP Address: 192.168.10.17
Hostname: vidm1.mycloud.lab
Default Configuration Admin: configadmin
Default Configuration Email: configadmin@vsphere.local
Node Size: Medium
Sync Group Members to the Directory When Adding Group: Enabled
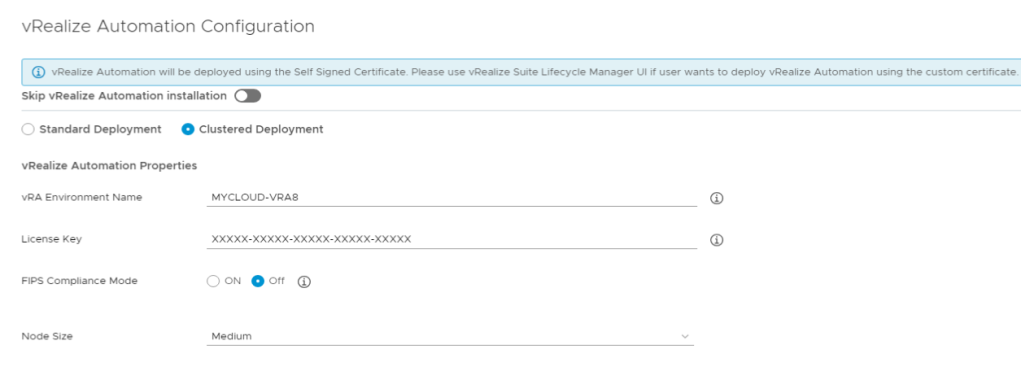
10 a. Under vRealize Automation Configuration section select Clustered Deployment. Enter vRealize Automation Environment Name, License Key, Turn Off FIPS Compliance Mode and Select the Node size.
vRA Environment Name: MYCLOUD-VRA8
License Key: XXXXX-XXXXX-XXXXX-XXXXX-XXXXX
FIPS Compliance Mode: Disabled
Node Size: Medium
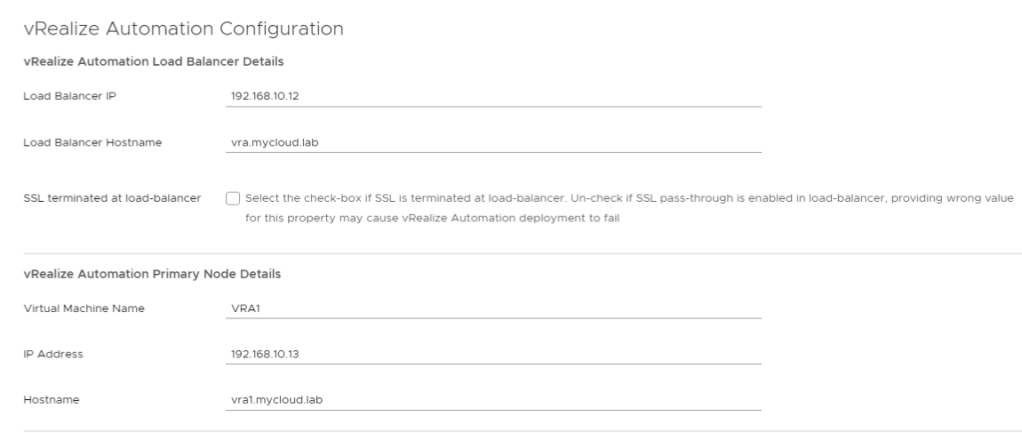
10 b. Enter vRealize Automation Load Balancer IP Address, Load Balancer FQDN and leave SSL terminated at Load-Balancer unchecked. In the vRealize Automation Primary Node Details section, enter Virtual Machine Name, IP Address and FQDN for the vRA Primary Node.
Load Balancer IP: 192.168.10.12
Load Balancer Hostname: vra.mycloud.lab
SSL terminated at Load Balancer: Disabled
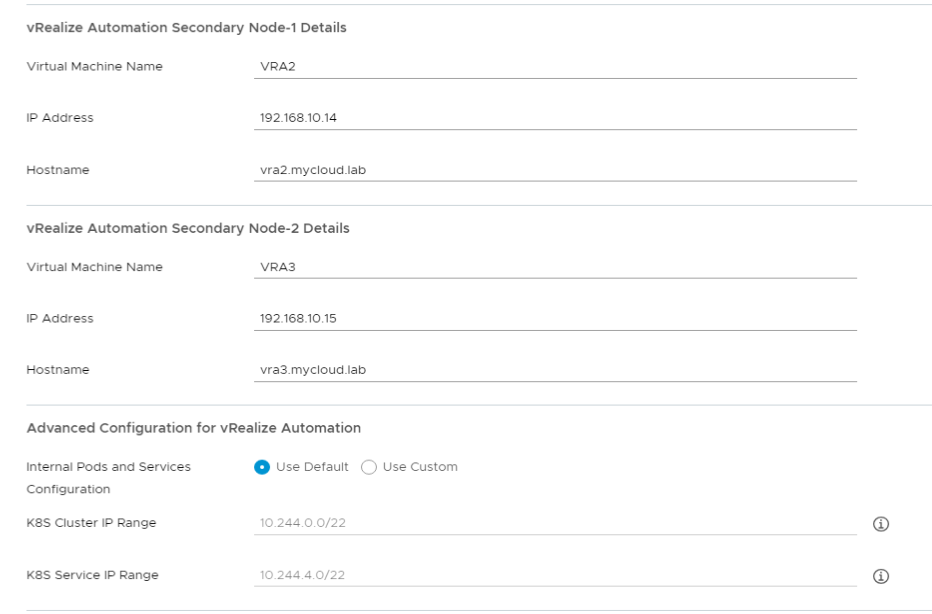
10 c. Enter vRealize Automation Secondary Node-1 and Secondary Node-2 Details, Virtual Machine Name, IP Address and FQDN. Leave Advanced Configuration for vRealize Automation to default.
vRealize Automation Node Details:
Primary Node Virtual Machine Name: VRA1
IP Address: 192.168.10.13
Hostname: vra1.mycloud.lab
Secondary Node-1 Virtual Machine Name: VRA2
IP Address: 192.168.10.14
Hostname: vra2.mycloud.lab
Secondary Node-2 Virtual Machine Name: VRA3
IP Address: 192.168.10.15
Hostname: vra3.mycloud.lab
Internal Pods and Services Configuration: Use Default
11. Review Configuration details on the Summary screen and click Submit.

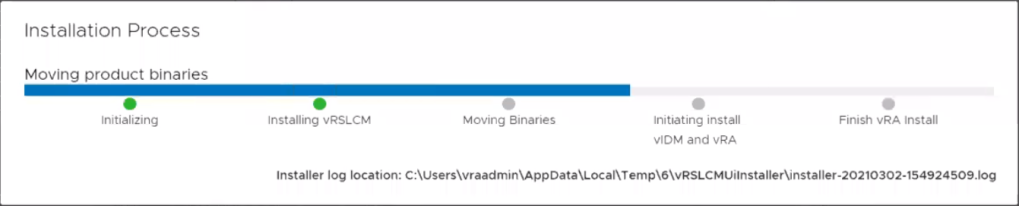
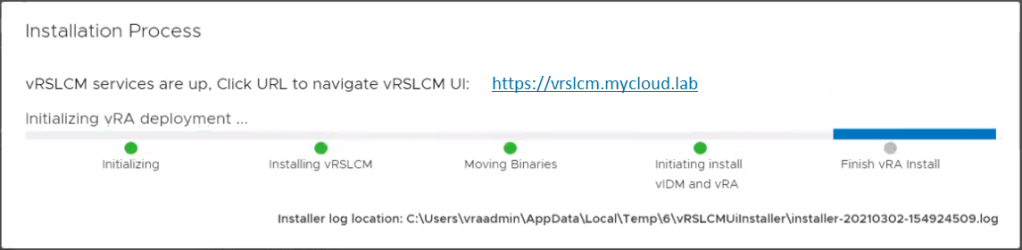
12. Installation Process goes through 5 stages: Initializing, Installing vRSLCM, Moving Binaries, Initiating install vIDM and vRA and Finish vRA Install.
13. Once the Installation Process has passed the stage of vRSLCM Installation, we can login to vRSLCM UI using the username as admin@local and Password which we entered during the Password Configuration stage.
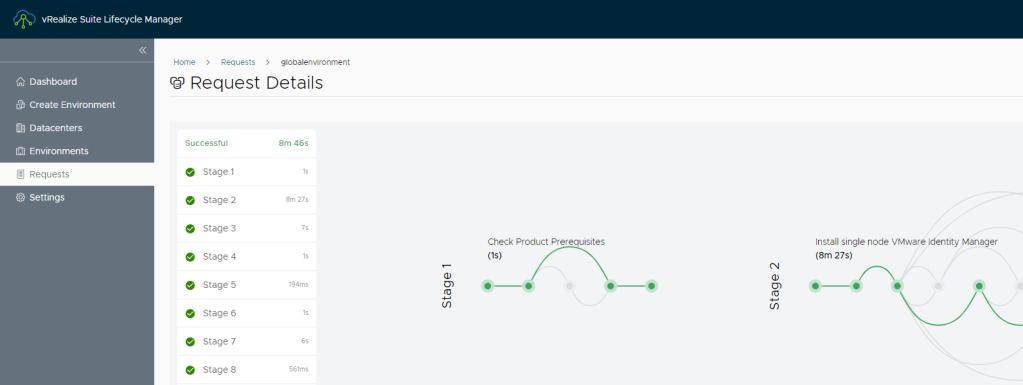
14. In vRealize Suite Lifecycle Manager select Lifecycle Operations under My Services and then to the Requests section. You’ll find 2 requests: globalenvironment – Create Environment (IDM Installation) and Create Environment (vRA Installation).

15. VMware Identity Manager Installation Request goes through 8 Stages before your vIDM deployment is ready.
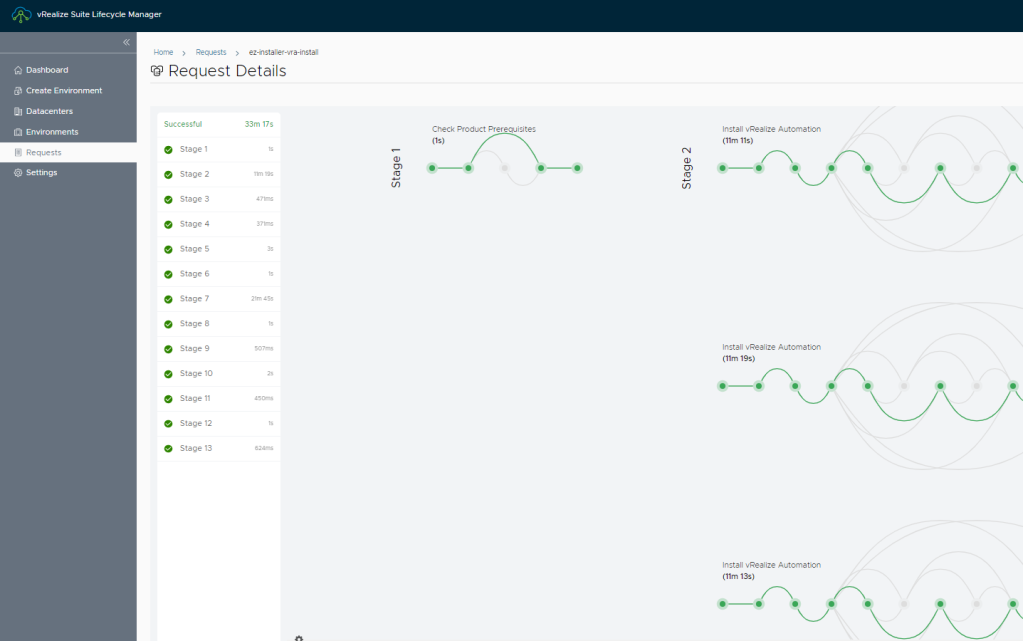
16. vRealize Automation Installation Request goes through 13 Stages before your vRealize Automation Deployment is setup and ready to use. Our vRealize Automation Installation failed twice during the setup process but the process was intelligent enough to provide intuitive insights into error and to allow us to resume from failed stage.
The entire Deployment and Setup process took us around 1 hour and 35 mins
Source: https://sociallyvirtual7.wordpress.com/2022/10/02/part-2-deploy-a-clustered-vrealize-automation-8/